- Get link
- X
- Other Apps

Rating for Indian Kachalu Curry
| ⭐⭐⭐⭐☆ (4.8/5) | "Kachalu Recipe (Badi Arbi)" |
Overall cooking Time: 40 minutes
Required Ingredients for Kachalu Recipe:
- 750 g Kachalu
- Onion paste of two large onions
- 1 tsp ginger garlic paste
- Tomato puree of 2 large tomatoes 🍅
- 1 tsp carom seeds
- 1 tsp turmeric powder
- 1½ tsp Coarse Red Chilli Powder
- 4 tsp coriander powder
- 3 tbsp oil
- 1 tsp garam masala
- 7–8 fresh curry leaves
- Fresh coriander leaves for garnishing
- Salt to taste
- 1 cup of water
How to Make Delicious Homemade Kachalu Recipe in Restaurant Style Step by Step guide
❓ Step 1: How to Properly Clean Kachalu Before Cooking – Expert Tips
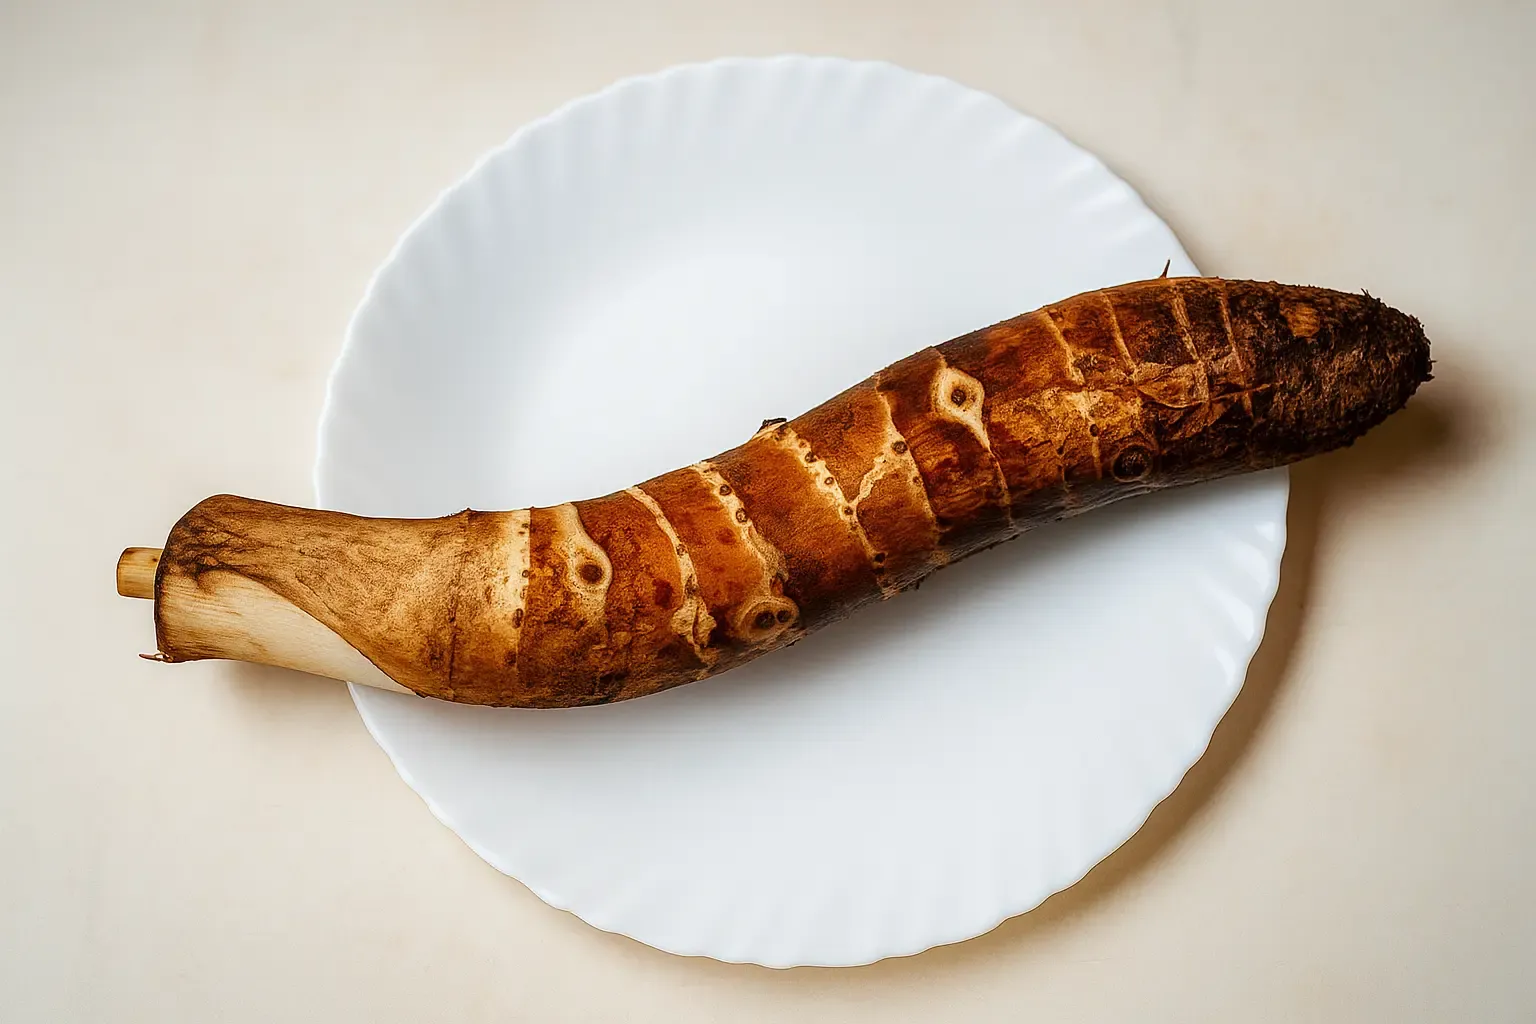
- To get started with making kachalu at home, the very first step is removing all the dirt and surface impurities.
- Place the kachalu under running tap water and rinse them thoroughly.
- Make sure to rub them gently with your hands to get rid of any soil, dust, or grime stuck on the surface.
- This cleaning process is essential before peeling to ensure no external dirt contaminates the final dish.
❓ Step 2: Why Should You Trim the Ends of Kachalu Before Peeling?
- After washing, the next step in preparing kachalu is to trim off both the stem and root ends.
- This helps in removing any tough or fibrous portions that might affect the texture later.
- By slicing off both ends, you create even, uniform cylinders—making it easier to peel and cut them into neat pieces.
- It also gives your dish a more refined, restaurant-style appearance once served.
❓ Step 3: How Should You Peel the Skin of Kachalu Properly?
Once you’ve trimmed the ends, it’s time to peel off the outer skin of the kachalu.
You can use a vegetable peeler for a smooth finish or a knife if you’re more comfortable with it.
Make sure to remove the skin evenly, taking care not to cut away too much of the flesh.
This step helps in giving the kachalu a clean look and smooth texture, just like in restaurant-style preparations.
🔍 Pro Tip:
Before peeling, check each kachalu. If you find any that are blackened or overly soft, it’s best to discard them—they could be spoiled or fermented, which might affect the taste and safety of your dish.
❓ Step 4: How Should You Cut Kachalu (Arbi) the Right Way?
- After peeling, begin by cutting each kachalu into two equal halves.
- For medium-sized pieces, simply cut each cylinder lengthwise in half.
- If you're making a dish that needs bigger chunks—like curries or stews—quarter them lengthwise instead.
- Place the pieces on a clean cutting board and slice them into medium-sized cubes or chunks, based on the recipe you’re preparing.
🍽️ Tip:
- Before chopping, make sure every piece is fully peeled and rinsed under running water to remove any grit or tiny root hairs.
- Pat dry with a clean kitchen towel to make chopping easier and safer.
❓ What Precautions Should You Take to Prevent Itchiness While Cutting Kachalu?
- Some people experience itchiness on their hands when handling raw kachalu.
- To avoid this, rub a few drops of cooking oil on your hands before you start chopping.
- Also, if your knife begins to stick while cutting, apply a bit of oil to the blade for smoother slicing and less mess.
❓ Step 5: How Do You Fry Kachalu in a Kadai the Right Way?
🧂 Ingredients You’ll Need:
- Chopped or sliced peeled kachalu (arbi)
- 3 tablespoons oil (for shallow frying)
🔥 Step-by-Step Frying Process:

- Heat oil in a heavy-bottomed kadai over medium flame.
- Once the oil is hot, add the prepared kachalu slices into the kadai.
- Let them sit undisturbed for 1–2 minutes so they can form a light crust.
- Then, gently stir or flip the pieces using a flat spatula to avoid breakage.
- Continue frying for about 8–10 minutes, flipping occasionally.
- When the edges look golden brown and crispy, lower the flame slightly and give them a final toss.
✅ Tips for Best Frying Results:
- Don’t overcrowd the kadai; it helps each piece cook evenly and crisp properly.
- Use a flat spatula to flip—this keeps the shape intact and prevents breakage.
- For getting perfect result: maintain medium heat so the kachalu cooks evenly—crispy outside, soft inside.
- Cast iron or steel kadais give the crispiest finish.
❓ Why Is This Frying Step So Important?
- Frying in hot oil seals the outer layer quickly, so the kachalu gets crispy without absorbing too much oil.
- If you stir too early, the pieces might stick, break, or turn mushy.
❓ How to Check If Kachalu Is Fried Perfectly?
- Choose one or two pieces and insert a sharp knife or skewer gently into them.
- If the blade slides in easily, that means your kachalu is perfectly cooked.
- The outside should be golden and crisp, while the inside stays tender but not sticky or raw.
✅ Perfect Frying Indicators:
- A knife goes in smoothly
- The surface is crisp and golden
- There’s no raw or rubbery bite
❓ Step 6: How Do You Begin Making Gravy for Kachalu? (The Base Step)
One of the most important steps in preparing a flavorful kachalu dish is getting the gravy base just right. Here's how to start it:
🌿 (A) Add Carom Seeds (Ajwain) and Let Them Splutter
- After frying the kachalu, use the same kadai with the remaining oil (add a bit more if needed).
- Don’t skip this! At this stage, keep the flame on medium and add 1 teaspoon of carom seeds (ajwain).
- Let them splutter gently—you’ll notice a warm, earthy aroma being released almost instantly.
This is a small step but crucial step to build the flavor foundation for the gravy. It's the beginning of transforming fried arbi into a dish that’s rich and comforting.
❓ Why Are Carom Seeds (Ajwain) Used in Kachalu Recipes?
- Ajwain is traditionally used in Indian homes whenever a dish involves tubers or heavy ingredients like arbi.
- It adds a distinct earthy flavor and a hint of warmth that pairs perfectly with the soft, fried texture of kachalu.
- More importantly, carom seeds aid digestion. Since kachalu can sometimes feel heavy on the stomach, ajwain balances the dish and prevents bloating or discomfort.
📝 Tip: Let the ajwain crackle fully before adding the next ingredients—this ensures the oil is well-infused and aromatic.
❓ (B) When Should You Add Onion Paste While Making Kachalu Gravy?
- Once the carom seeds have spluttered and released their aroma, it’s time to add the next key ingredient—onion paste.
- It’s the time to add the paste of 2 large onions to the kadai and continue keeping keep the flame on medium.
- Sauté the paste, stirring constantly until it turns light golden brown and the raw smell disappears completely.

This process may take a few minutes, but it’s essential. The onion paste forms the rich, savory base of the gravy, adding both sweetness and depth of flavor.
✅ Pro Tips for Perfect Onion Sauté:
- Always use finely ground onion paste for a smooth, restaurant-quality texture in your gravy.
- Keep stirring the paste to prevent it from sticking to the pan or burning at the bottom.
🧅 A well-cooked onion base adds body and richness to the final dish—don’t rush this step.
❓ (C) When Should You Add Turmeric Powder While Making Kachalu Masala?
- Right after the onion paste is sautéed and turns light golden, it’s the perfect time to add ½ teaspoon of turmeric powder.
- Stir it well into the onions before adding any other spices. This allows the turmeric to blend properly and release its earthy aroma.
✅ Why Add Turmeric at This Stage?
- Turmeric helps enhance the color of your masala.
- It’s believed in many Indian kitchens to act as a natural immunity booster, especially when cooked in warm oil.
⚠️ Tip:
- Keep the flame low while adding turmeric to prevent it from burning.
- Stir constantly for 20–30 seconds before moving to the next spice.
❓ (D) When and How Should You Add Red Chilli Powder for Kachalu Gravy?
Once the onion paste turns golden and fully cooked, it’s time to bring in the heat and color.
Add 1½ teaspoons of coarse red chilli powder to the kadai.
Sauté it on low flame for 30 to 40 seconds—this allows the spice to release its vibrant color and smoky aroma, deepening the flavor of your gravy.
The coarse texture of the chilli powder also adds a light crunch and rich visual appeal to the dish, giving it that signature restaurant-style look.
✅ Pro Tips:
- If the masala mix looks too dry, just sprinkle a little water—this helps prevent the chilli powder from burning and becoming bitter.
- Feel free to adjust the chilli quantity depending on how spicy you like your food.
🌶️ This step not only boosts the flavor—it gives your kachalu that beautiful reddish hue that everyone loves.
❓ (E) How and When Should You Add Coriander Powder to Kachalu Gravy?
- After the red chilli powder is sautéed and blended, it’s time to layer in more flavor.
- Add 4 teaspoons of coriander powder to the kadai.
- Mix it well with the onion and chilli base, then sauté over low to medium flame for about 1 minute.
This step helps build that rich, earthy taste and adds depth to your homemade kachalu masala.
✅ Pro Tips:
- Coriander powder balances the heat of the chilli while adding a mild, nutty aroma—a key feature in traditional Indian gravies.
- If the masala mix seems dry or starts sticking, just sprinkle 1–2 teaspoons of water to keep everything smooth and prevent burning.
- 🌿 Adding coriander powder at the right moment ensures your gravy develops its full-bodied, aromatic base.
❓ (F) When Should You Add Curry Leaves While Cooking Kachalu?
Once your spice base is ready, it’s time to bring in that herby aroma.
Now, add 7–8 fresh curry leaves to the hot masala mixture in the kadai.
Let them sauté for a few seconds until they crackle and release their distinct fragrance.
This step infuses your dish with a gentle, South Indian-style flavor** that complements the bold spices perfectly.
✅ Pro Tips:
- Always try to use fresh curry leaves for maximum aroma.
- If fresh ones aren’t available, dry curry leaves can be used—but add them early so they soften and blend into the masala.
- Adding curry leaves at this stage preserves their freshness and flavor right through to the final bite.
❓ (G) How Do You Cook Tomato Puree for a Rich Kachalu Gravy?
Right after the curry leaves crackle and release their aroma, it’s time to add the base of your gravy.
Add the puree of 2 large tomatoes to the kadai and mix well into the spice mix.
Cook on medium flame for 7–8 minutes, stirring occasionally, until the oil starts to separate from the masala.
This process builds a rich, tangy base that gives your dish that restaurant-like finish in both **taste and texture.
✅ Cooking Tips:
- Keep an eye on the flame—medium heat helps the tomatoes reduce without burning.
- Stir every 1–2 minutes to avoid sticking or charring at the bottom.
- You’ll know it’s ready when the oil begins to float, and the masala thickens into a smooth paste.
❓ (H) When Should You Add Salt While Making Kachalu?
Once the tomato puree is fully cooked and the oil begins to separate from the masala, it’s time to add salt to taste.

Sprinkle the salt to taste evenly and mix gently so it blends well with the rich, spiced base.
✅ Why Add Salt at This Point?
- Adding salt after the oil separates helps it bind better with the masala, locking in flavor.
- It also helps balance the spices and bring out the tangy richness of the cooked tomatoes.
⚠️ Tip:
- Start with a little, then taste and adjust—especially if your tomatoes are already salty or tangy.
- Salt is added just before adding the fried kachalu—it helps tenderize them perfectly at this stage.
❓ (I) When Should You Add the Fried Kachalu Back Into the Gravy?
- Once the tomato puree is well cooked and the masala releases oil, add the fried kachalu slices back into the kadai.
- Gently mix them with the masala so that each slice gets evenly coated with the rich, spiced mixture.
- Cook on low to medium flame for 5–6 minutes, allowing the flavors to blend beautifully.

✅ Tip:
- Stir gently to avoid breaking the slices.
- Cooking uncovered for 5–6 minutes is good for a deeper flavor infusion.
💧 Add 1 Cup of Water
After the fried kachalu slices are well coated in the masala,
Add 1 cup of water to the kadai to increase tenderness and create a light, flavorful gravy.
Stir gently to mix and bring the curry to a gentle boil on medium flame.
✅ Tip:
- If you prefer a dry version, reduce the water to 1/2 cup.
- For a thicker gravy, let it simmer uncovered for a few extra minutes until it reaches the desired consistency.
⏲️ Cover and Cook for 20 Minutes, Stirring Occasionally
Once the water is added and the curry starts to simmer,
Cover the kadai with a lid and cook on low flame for 20 minutes.
Meanwhile, stir occasionally to prevent the masala from sticking or burning at the bottom.
This slow cooking allows the kachalu to fully absorb the flavors and become perfectly tender.
✅ Tips:
- Use a heavy-bottomed kadai for even heat distribution.
- If needed, add a splash of water during cooking to maintain the consistency.
🌿 Finally, Add Garam Masala and Fresh Coriander (Optional)

Once the kachalu is cooked and the gravy reaches the desired consistency,
Add ½ teaspoon of garam masala and mix gently.
For added freshness and flavor, you can optionally sprinkle chopped fresh coriander leaves on top.
Now, turn off the flame and let it rest covered for 2–3 minutes before serving.
✅ Final Touch:
✨ Garnish with fresh coriander leaves
Wash & Dry Gently:
- Rinse the fresh coriander leaves thoroughly in cold water to remove dirt.
- Tear a few leaves by hand (don’t chop).
- Sprinkle lightly over the dish just before serving.
- You may also place a tiny sprig or mini bunch of coriander right in the centre of the dish or at one corner of the plate.
✅ Tips:
- Avoid yellow, wilted, or dry leaves.
Why we use coriander leaves for garnishing:
- It gives a fresh, airy, and aromatic finish.
- Ideal for a natural, rustic look.
- To show restaurant-style plating.
🍽️ How to Serve Kachalu Recipe
- Garnish: Once your kachalu dish is fully cooked, garnish generously with fresh coriander leaves for a burst of color and aroma. This not only enhances the flavor but also makes the dish visually inviting.
- Serve Hot: Always serve kachalu hot and fresh to enjoy its full taste and texture.
Best Pairings:
-
Naan or Phulka– A classic combo, perfect for a light meal.
- Paratha – Especially ajwain or plain paratha works beautifully with dry kachalu masala.
-
Steamed Rice– Ideal when kachalu is prepared with a little gravy or tamarind-based masala.
- Raita–Add
a bowl of plain curd or boondi raita on the side for balance.
- Pickle & Salad – Pair with a spoon of tangy pickle and fresh salad for a complete traditional Indian thali feel.


Final Words from DAILY FOOD KITCHEN
At DAILY FOOD KITCHEN, we believe that simple ingredients can create magical flavors—and this homemade deciduous kachalu recipe is proof of that. Whether you’re cooking for family or just craving something different from your usual meals, this dish brings comfort, tradition, and taste together in every bite.
So why wait?
🌿 Grab those arbi (kachalu), add your love, and let your kitchen come alive with flavors!
We’d love to see how your version turns out—
📸 Share your kachalu creation with us on social media or in the comments below.
And don’t forget to follow DAILY FOOD KITCHEN for more authentic, easy, and soul-satisfying Indian recipes every week!
Happy Cooking!
– Team DFK
Comments
Post a Comment
Thank you, for giving us feedback.